Couple of days ago I need to create a hatched drawing for one of my project plan. Discovered a neat way to create hatching in Illustrator and I thought it might be useful to share.
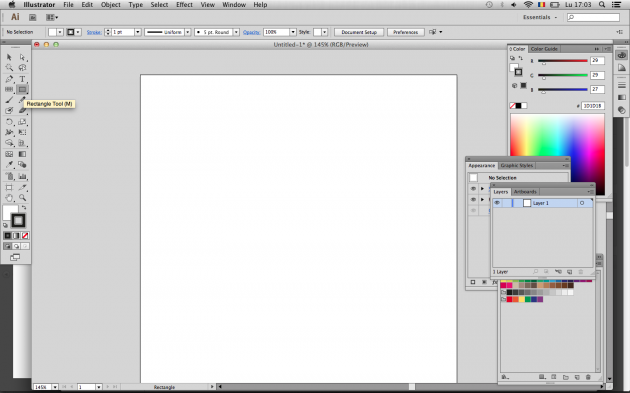
Create a new document, any size. Press “M” to access the Rectangle Tool:
Click on the canvas and make a 100 px x 100 px rectangle:

Choose Rectangular Grid Tool (within line tools):
 Enter values below. Don’t forget to set the horizontal dividers to zero if you want to create a vertical hatching grid and vice versa:

Create hatching — grid parameters in Illustrator
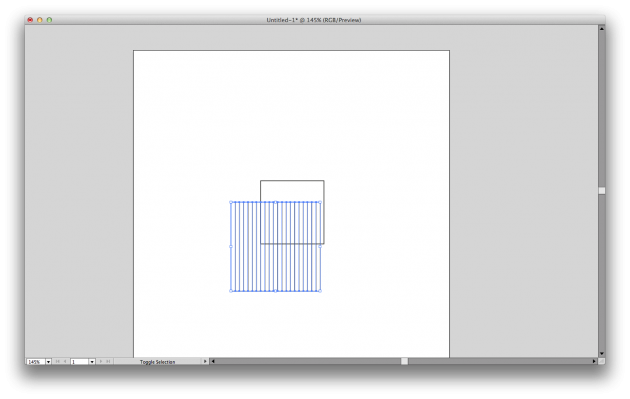
You will get a vertical grid of 20 lines spaced equally within a rectangle 141 x 141 pixels:
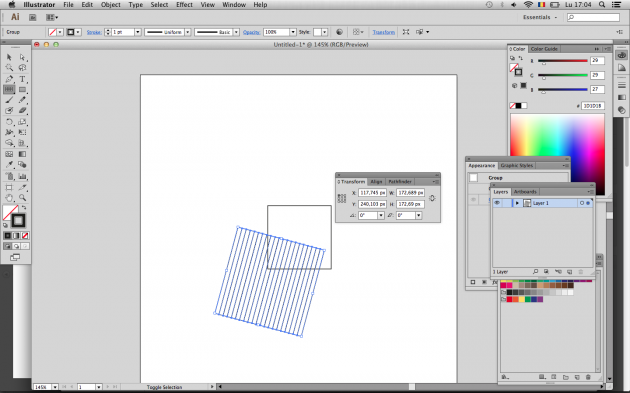
Press Shift + F8 to bring up the Transform menu (or go to Window → Transform):
Enter -15 in the angle box. This will skew the grid to 75 degrees from horizontal, the standard hatch angle. Press enter.
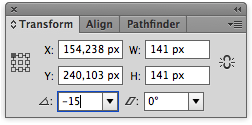
The grid will be skewed:
Pres cmd + A (Mac) or Ctrl + A (Win) to select all. Then press Shift + F7 to bring up the align panel and center both objects:
Select the rectangle and bring it to front. If you encounter difficulties in grabbing the rectangle (it is beneath the grid) then select the grid and press Option + Cmd + [ (on mac) or Ctrl + Alt + [ (on windows) to select next object below (or go to Select → Next Object Below); press Cmd + Shift + ] (mac) or Ctrl + Shift + ] (win) to bring the object in front:
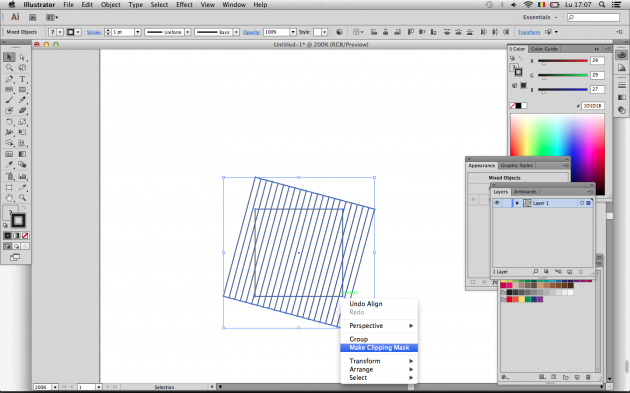
Press Cmd + A (Ctrl + A) to select all; right click and choose “Make clipping Mask”:
The object will be hatched:
With the object still selected, give it a black stroke. Deselect:


